
Regular maintenance is part of the deal when you own a dry suit or dry top, and the costs of getting your gear professionally repaired can add up quickly. By repairing your own gaskets, you can save yourself the time and hassle of sending your gear into the manufacturer, and save money on labor costs. It might seem intimidating the first time you try to repair your own neck gasket, but just know there are tons of ways it can be done. It’s not an exact science! Here’s how to repair a neck gasket, the Wet Planet way!
When you realize your neck gasket is going out right before you get on the river…
How to repair a neck gasket:
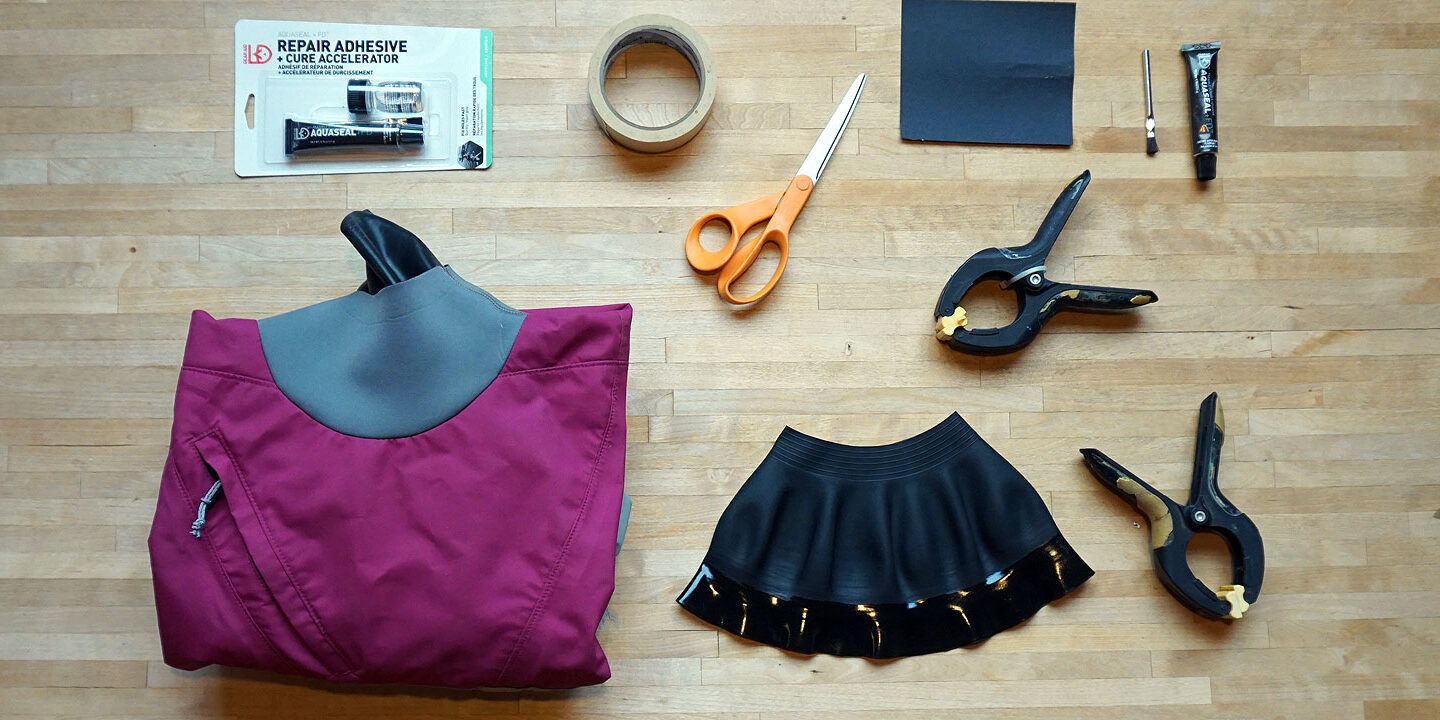
Step 1: Gather the tools and materials
There are a few things you’ll need to have on hand. Here’s what you need to repair a neck gasket:
- Neck gasket jig**
- New gasket*
- Scissors
- Sandpaper*
- Aquaseal*
- Brush*
- Masking Tape
- Time
*These items typically come together when you purchase a neck gasket kit from major manufacturers, such as NRS and Kokatat. You don’t have to get the gasket from the same manufacturer as your dry-suit; it’s fine to mix and match.
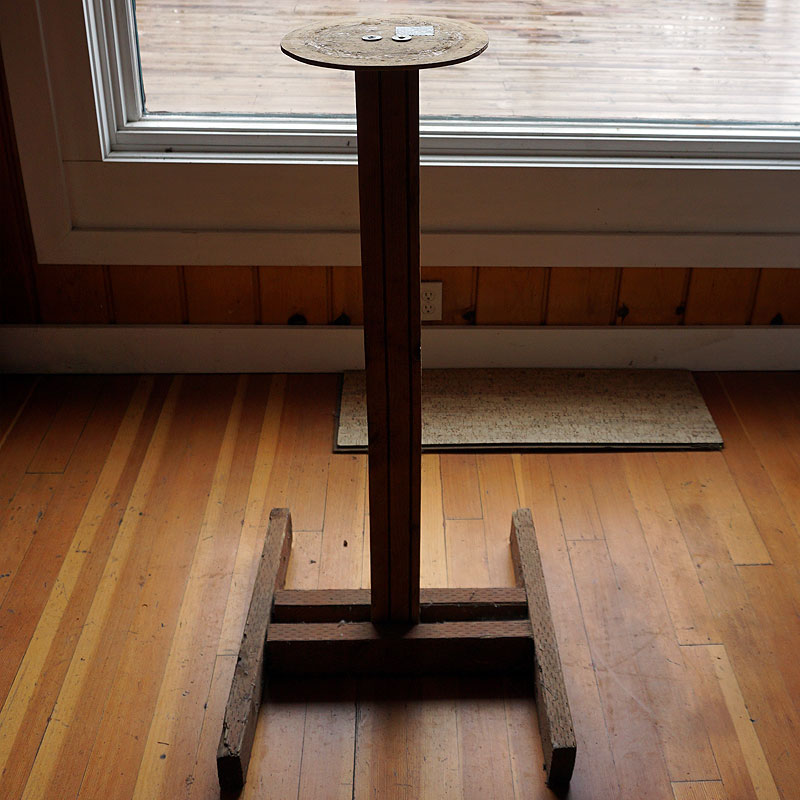
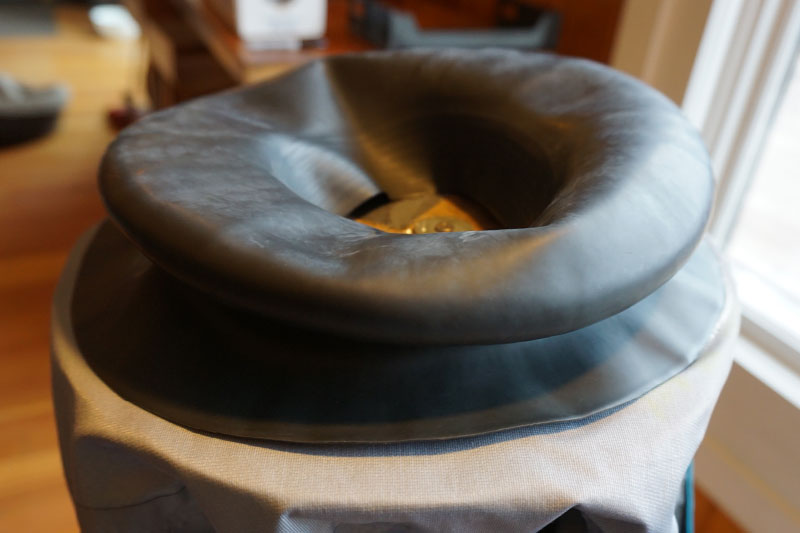
**A note on the jig – you’ll see various jigs and forms from different manufacturers. It’s just as easy to build a sturdy homemade jig that you can have on hand whenever you need to repair a neck gasket. We like having a self-standing one, because it makes it easier than having your suit bunched up on a table. The suit just hangs freely on here, and it’s also ergonomic and easy to work with. Here’s what our jig looks like:
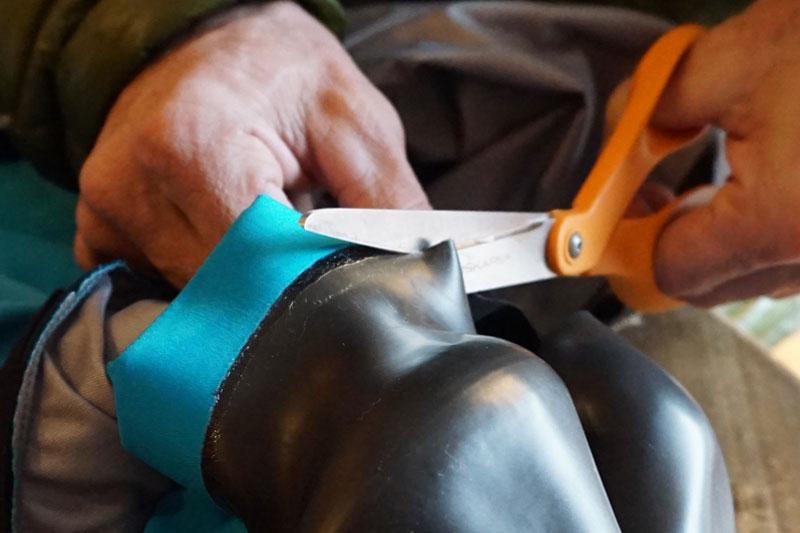
Step 2: Trim the old neck gasket
Trim your old neck gasket along the natural line where the latex meets the fabric, without cutting into the actual material of your dry suit or dry top.
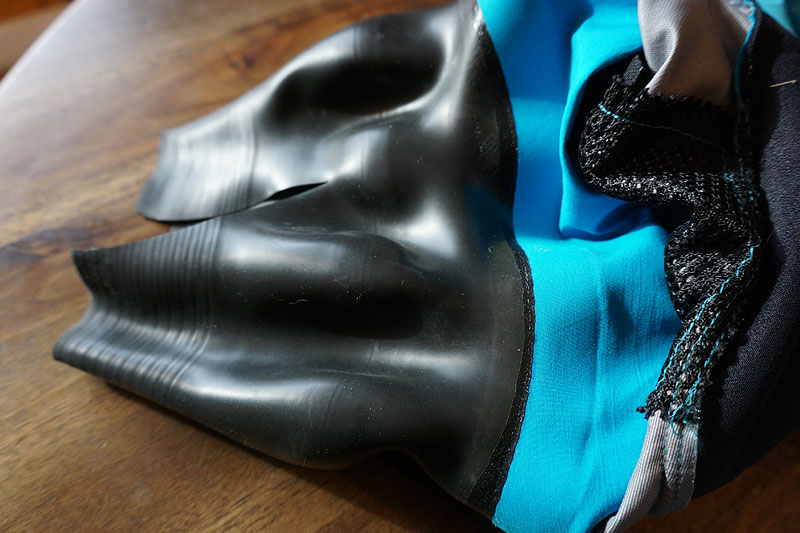
You can see the natural line/fading where the latex ends and dry suit begins. It’s much easier to actually feel it.
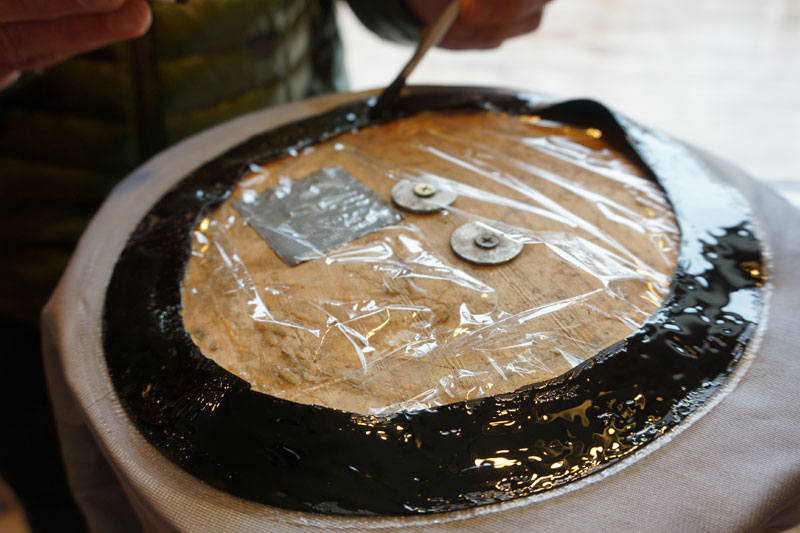
Step 3: Position your dry suit on the jig
Place your dry suit or dry top inside-out on the jig. The goal is to get it as flat as possible. This dry suit is a little small for the jig, so you’ll see it bunching in a couple of spots. Not the end of the world. Remember, this isn’t an exact science.
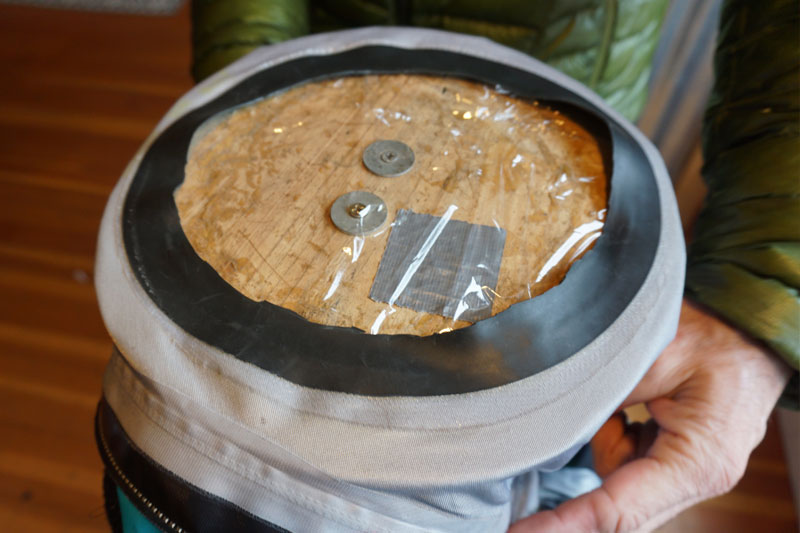
Note that we lined the wood in plastic wrap. This is a good way to keep the wood smooth, but sometimes also gets stuck to the Aquaseal. The plastic wrap isn’t necessary, so you can take it or leave it.
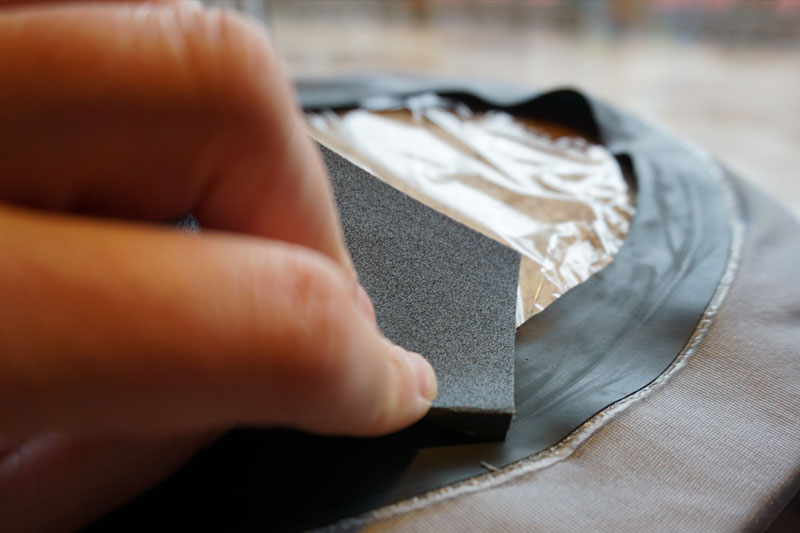
Step 4: Sand the latex
Use a small bit of sandpaper to get some texture on the remaining latex from your old gasket. This will help the glue stick better.
Step 5: Apply the Aquaseal
Apply an even layer of Aquaseal all the way around the old gasket. Using your brush, spread the glue around. Be sure to cover the inside edges!
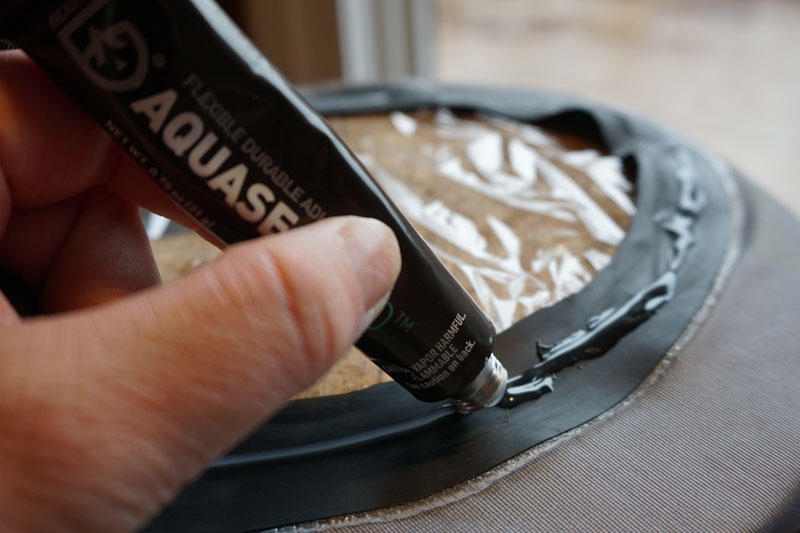
Not enough Aquaseal! Be generous with it.
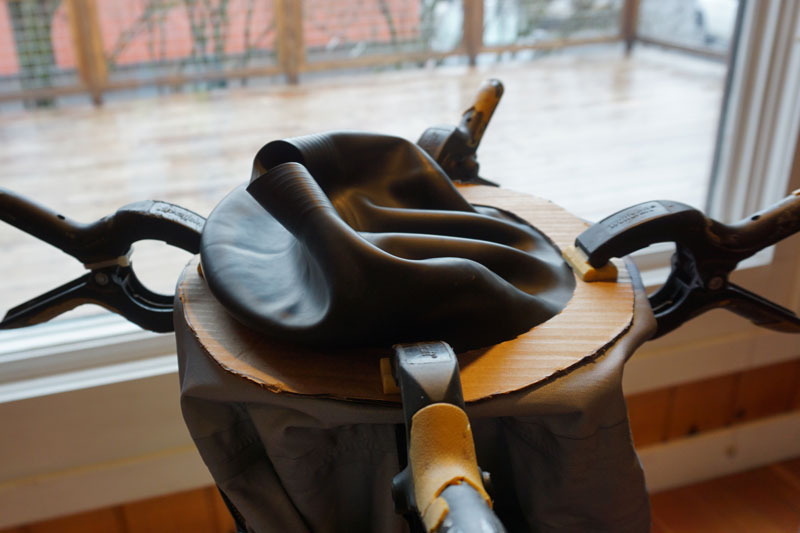
Step 6: Place the new neck gasket on the dry suit & clamp it down
When you place your new neck gasket on top of the glue, the goal is to get it as even and flat as possible. The edge of the gasket is designed to lay flat and conform with the dry suit, so it basically just does this itself when you place it on. You’ll want to check inside though, and make sure it looks like it’s centered.
Place the neck gasket on the dry suit, getting the edges to lay as flat as possible
Place your guides on the edges of the new gasket. The inside of the guide should line up with the spot where the glue ends on the inside of the new gasket. You can peek inside to check this.

Place your guides on the edges of the new gasket.
These guides are made of cardboard. Usually, we have wood ones that we made to go with the jig. Wood actually works better because it’s more rigid, but this cardboard worked in a pinch.
Step 7: Wait.
It takes about 24 hours for the glue to set. Be patient, let it do its thing.
Optional: Make seam lines
When the glue is dry, you can clean up the edges by making seam lines. It’s not totally necessary, but makes it look nicer and keeps the edges from peeling up. To do this, place masking tape above and below the seam, leaving about 1/4″ of space in between the tape. Spread Aquaseal evenly around, just like you did in step 4. When your done gluing, set a timer for 15 minutes, and remove the tape, then let it dry overnight. The end result is a nice, clean-looking seam!
Step 8: Go paddle!
Congratulations, you’ve just learned how to repair a neck gasket! If you’re stressed about how it turned out, the latex got bunched up in a spot, or your seam isn’t perfect, don’t worry. Remember, it’s not an exact science – what matters it that you’ve got a solid seal. Latex and Aquaseal are bombproof. Now, go reap the benefits of your hard work and stay nice and dry on the river!
Author Sharon Saltoon is a kayak instructor and Communications Manager at Wet Planet. She loves being a part of the team at Wet Planet and sharing her love of whitewater on and off the river!